


This image must've made you some impression, ain't it? So cool right? Really made the tree on the left a center of the focus without really being in the center.. How do we do it? Alright, making a blur is easy. But how do we integrate the blurred effect and the normal pixture?
And that, is what will we be covering here.
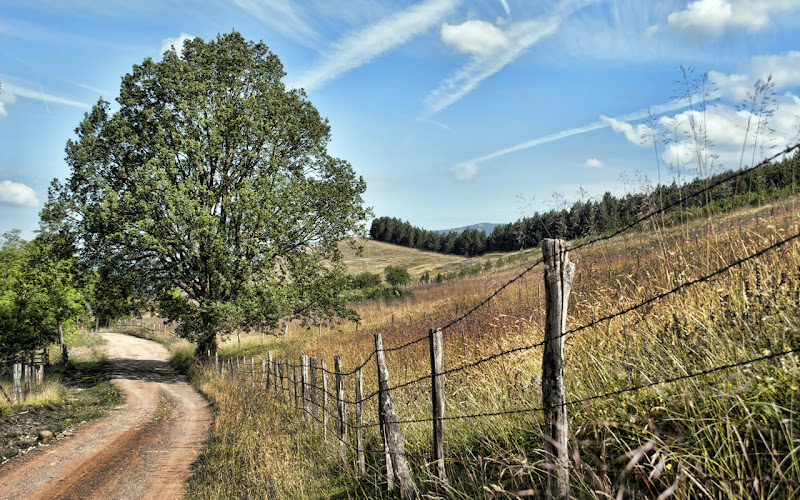
Let's take this original picture for example.
First thing to do is to duplicate the layer by either pressing Ctrl+J or right click on the layer in the layer tab on the right panel and selecting duplicate layer. So we'll have two layers (background and background copy). The new layer on top will be the one that will be blurred.
Go to Filter menu> Blur > Radial.


This menu will allow for images to either blurred as being zoomed in or blurred a as being swirled. Set a higher amount, choose Zoom and Best like this:


Now, create a mask for the blurred layer by clicking on the mask button on the layer tab.
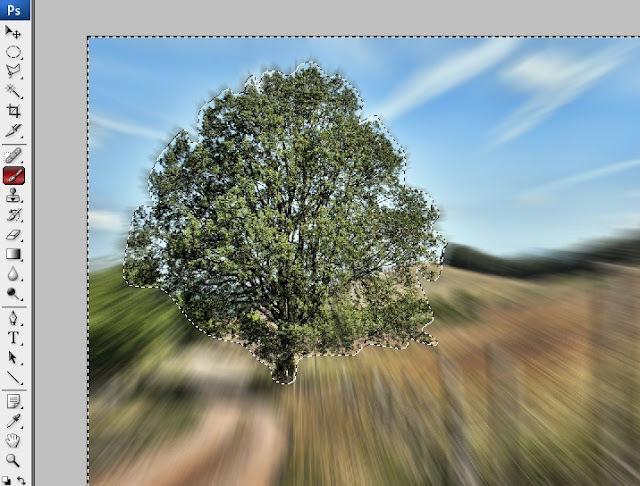
Next, create a selection of the basic shape of the tree using any tool like lasso selection, magic wand, pen, or the like. It will looks something like this:
Now paint the selection in black. Make sure the mask in the layer tab is selected first. Instead of the black colour that you painted, it will become un-blurred. This is because the mask is masking the blurred effect and showing the layer beneath the masked layer instead, which is the original image.
It will looks like this.
 while your mask layer looks like this.
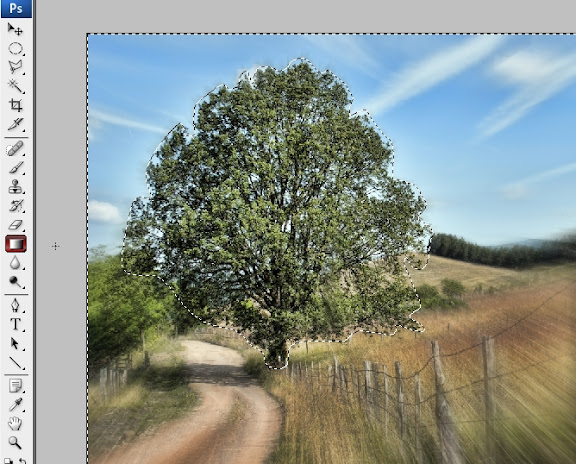
While you can stop here, it is not perfect. The change from blurred to unblurred image is too sharp and clear, thus looks unnatural. To rectify this, we can create a gradient instead.
 Still selecting the mask layer, select the gradient tool on the left panel. Make sure the foreground colour is black, background is white for the gradient (its on the top of the bar). Choose the circle type of gradient like in this picture: (ignore tool menu preset and what not. Just take notice of the black and white gradient as well as the circle being selected beside it).
Make a gradient by clicking on the center of the tree and dragging the mouse to the outside so that areas near to the tree become somewhat unblurred. Experiment a little bit to make the best out of it. Your picture is good when the balance is somewhat like this.
 while the mask looks like this.
Now we're done!! De-select (Ctrl+D) and merge the layers if you want. Do ask if you have questions.
No comments:
Post a Comment